
 It has been said that “Pie” has been around since ancient Egyptian times. The first pies were believed to be made by early Romans who may have been taught by the Greeks!
Fast forward to today and the season for baking! With varying fresh fruits preparing to literally burst off the vine, it’s time for pie! Truly! As easy as pie? You bet!
This crisp, buttery new world confection with notes of olde world charm and mild sea salt is no store bought! It’s real, luscious and completely satisfying–you will find new best friends with this one; they’ll flock to you!
I’ve jumped on the bandwagon and incorporated the “salted caramel” aspect and it’s a winner! The brown sugar offers the caramely, buttery flavor and the salt, well, the salty notes. No need to fear, I will take you through each step.
This apple pie is award winning; firm not runny, perfectly sweet with just the right amount of spices. It is sure to become one of your family’s favorites–it is ours. If the homemade crust intimidates you, a good quality, store bought crust will do, but this classic pie crust is well worth the little time and effort…it’s buttery, flaky and simply AMAZING! So, get that rolling pin out, and join me for a tasty, appley, spicy adventure!
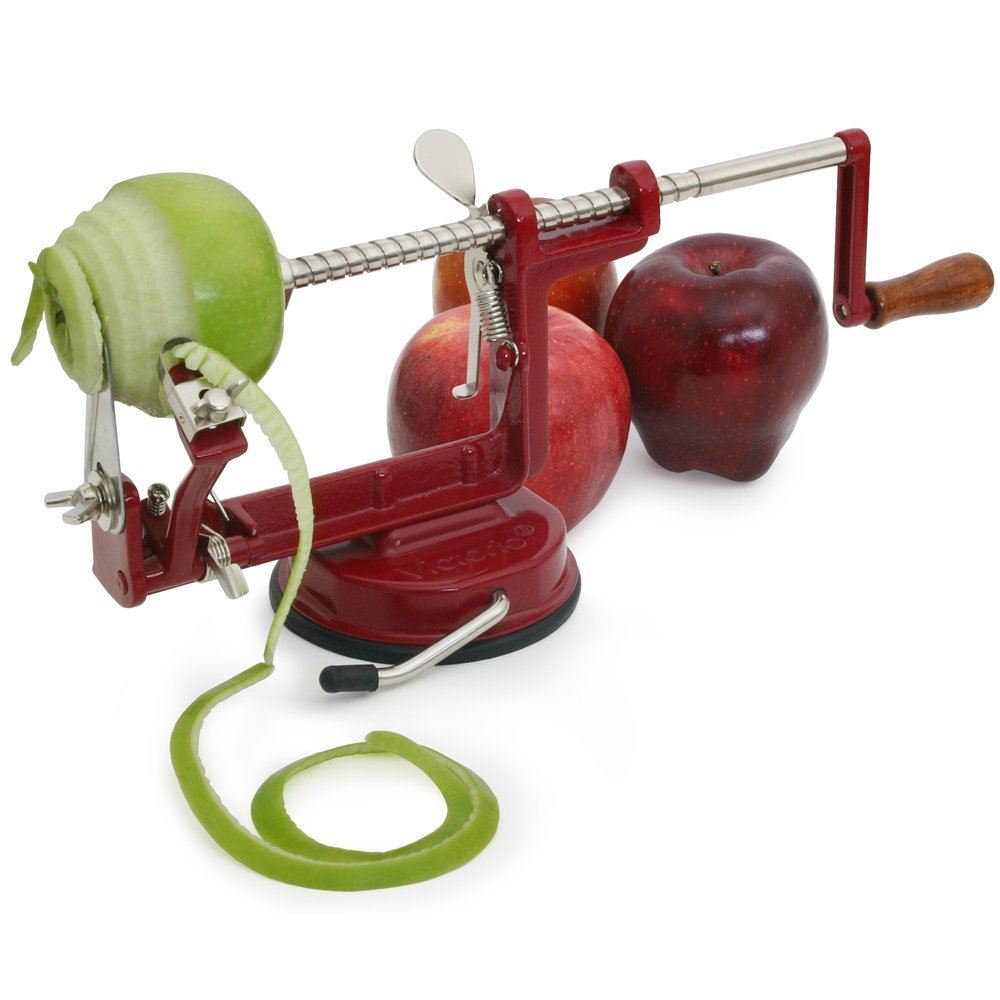
PS…Check out this peeler, slicer gadget! If you use and enjoy apples in any form, it’s a must!
Ingredients:
Pie Crust:
- 2 1/4 cups all-purpose flour, plus more for bench and cutters
- 2 tablespoons sugar
- ½-1 teaspoon fine salt
- 1 teaspoon baking soda
- 2 sticks chilled unsalted butter, cut into 1/2-inch cubes
- 4 tablespoons ice water mixed with 2 teaspoons apple cider vinegar, plus more as needed
Filling:
- 3-4 pounds cooking apples (7-8 cups) sliced thin…I used the peeler corer slicer
- 1/2 lemon, juiced
- 2/3 cup all-purpose flour
- 1 cup granulated sugar
- 3/4- 1 cup brown sugar, packed firmly
- 2 teaspoons apple pie seasoning (or 2 tsp ground spices; 1 1/2 tsp cinnamon, 1/4 tsp ginger, 1/4 tsp cloves & a pinch of nutmeg)
- 1 teaspoon fine sea salt
- 3 tablespoons butter, cut into small pieces
- 1 tablespoon instant tapioca
- 1 tablespoon course sugar
- 1/2 tsp course ground sea salt
Chef’s Note: You can increase the amount of sugar to 2 cups, depending upon your sweet tooth ![]()
For the crust:
- In a food processor, combine the flour, sugar, salt and cold butter.
- Pulse the processor until the mixture resembles fine sand.
- Remove lid and add ice water vinegar to mixture. Run processor just until mixture rolls itself into a little ball. If mixture is a bit dry, add more ice water by the tablespoonful until it comes together.
- Gather the dough into a ball.
- With a bench scraper or knife, divide the mixture evenly in half. Shape each half into a disk. Wrap each disk in plastic wrap and chill at least 30 minutes.
- Dough will keep in the refrigerator for a few days or you may freeze for later use.
- Preheat the oven to 425*
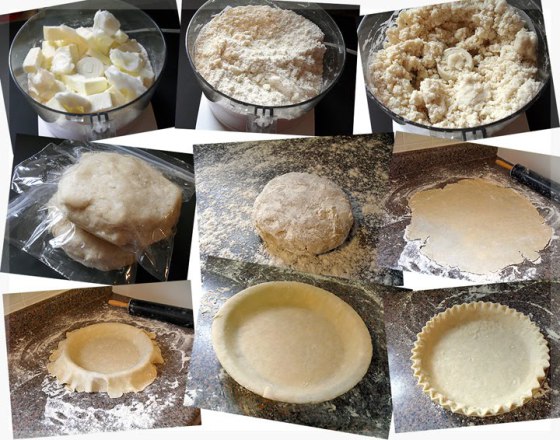
- Flour a rolling pin and roll out 1 pie crust over a piece of floured waxed paper roll to about a 12-inch round and drape over a 9 1/2-inch pie plate—remember curbs not driveways.
- Roll out the other pie crust to about a 10-inch round. Scatter tapioca on the bottom—this will prevent a soggy bottom
Filling:
- Peel, core and thinly slice apples (corer, peeler, slicer highly recommended) add lemon juice and stir gently.
- Whisk flour, sugar, spices and salt in another bowl, making sure there are no lumps.
- Stir flour mixture into apples and mix well. Pour into pie crust. Scatter with pieces of butter.
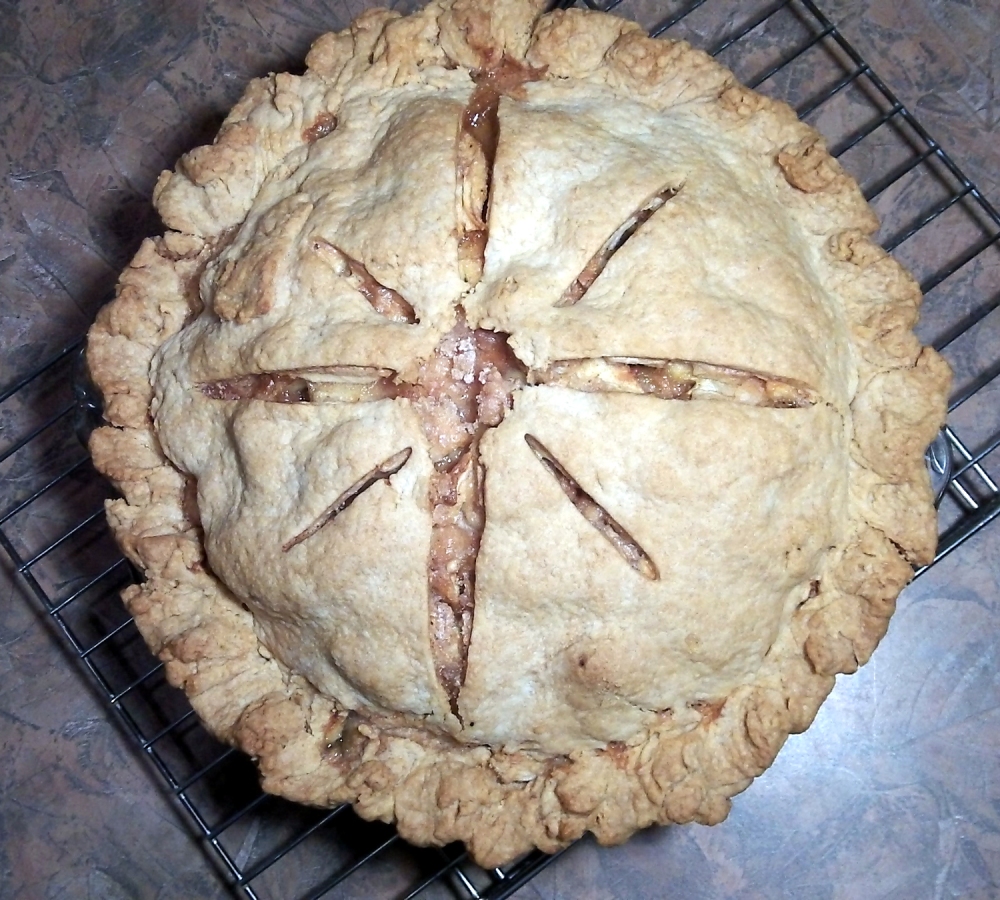
- Top with 2nd 10 inch round. Crimp edges to seal.
- Cut a hole in the center and make several slits in between.
- Sprinkle top with course sugar & salt.
- Place in preheated oven and bake for 10 minutes, lower heat to 350 degrees and bake until crust is golden; about 55-65 minutes. If the edges brown too fast, cover them with strips of aluminum foil about halfway through baking.
- Cool for at least 30 minutes before serving.
Tutorial photo source: veronicascornucopia Peeler photo source: amazon

Love Apple Pie!!
LikeLike
This sounds like the pinnacle of apple pies and I do love an apple pie it must be said. Back in France I have one of those peelers – would you believe it belonged to my granny …. she had a large orchard and would not have been without her hi-tec gadget. I highly recommend it too!
LikeLike
Oh wow now doesn’t that look like a slice of pie heaven!
LikeLike
Looks AMAZING!!
LikeLike
Good looking pie! The food processor is a godsend for homemade pie crust. My husband used to have one of those Apple peeler things and he loved it.
LikeLiked by 1 person
Thanks so much, Nancyruth! Agreed! The peeler is a must!
LikeLiked by 1 person
Looks super awesome, Lana! I saw one of those apple peeler things on Food network star show last week, I thought it was pretty fascinating 🙂
LikeLiked by 1 person
Thanks, Freda! They are one gadget that get lots of use!
LikeLiked by 1 person
Now I am craving apple pie !!! That pie crust looks perfect, the filling…omw…I need this apple pie 🙂
LikeLiked by 1 person
haha, Lynne! The main secret ingredient is the vinegar, but you didn’t hear this from me 😉
LikeLiked by 1 person
Hmmmmm, thank you 🙂 🙂 🙂
LikeLiked by 1 person